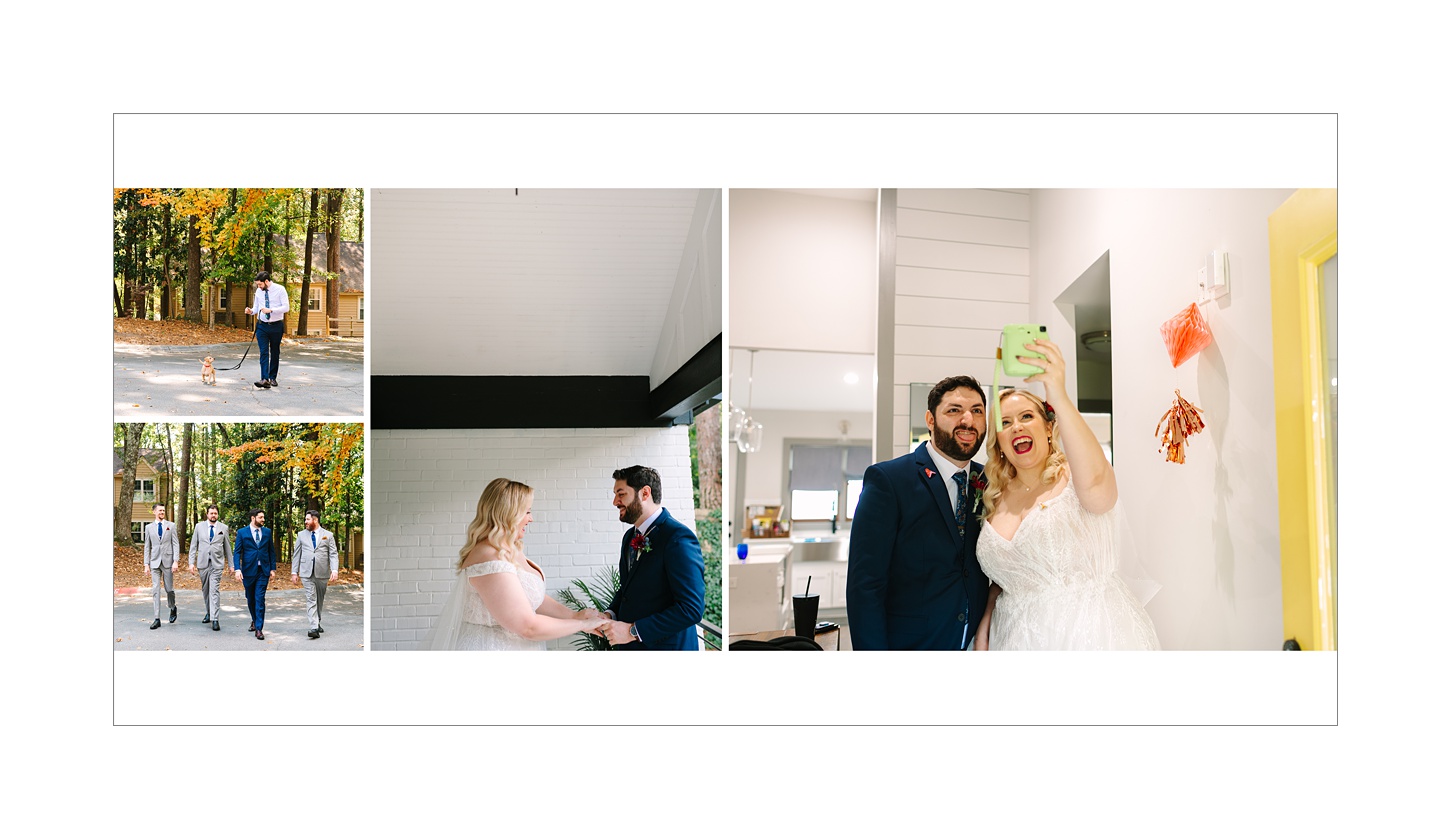
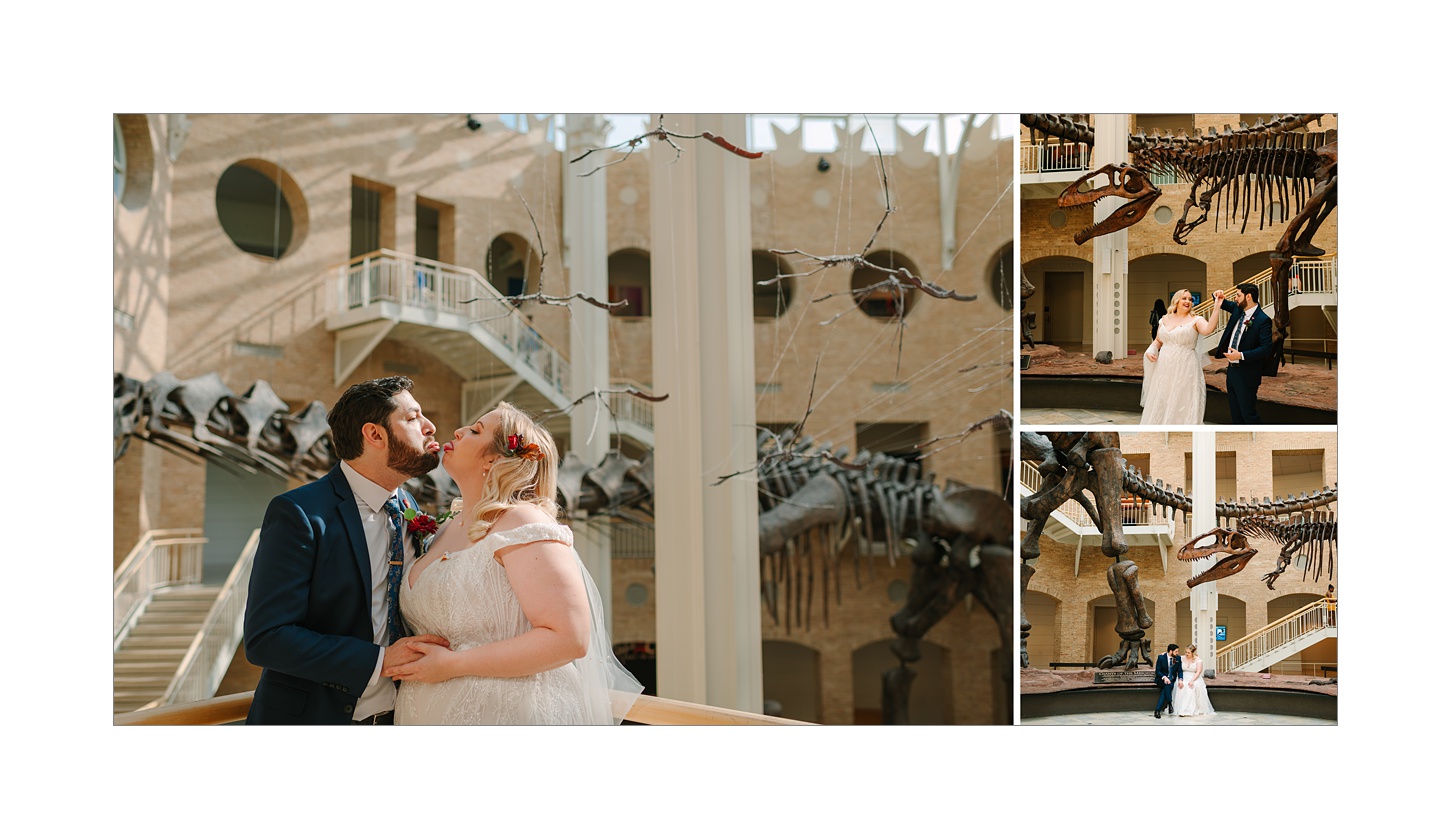
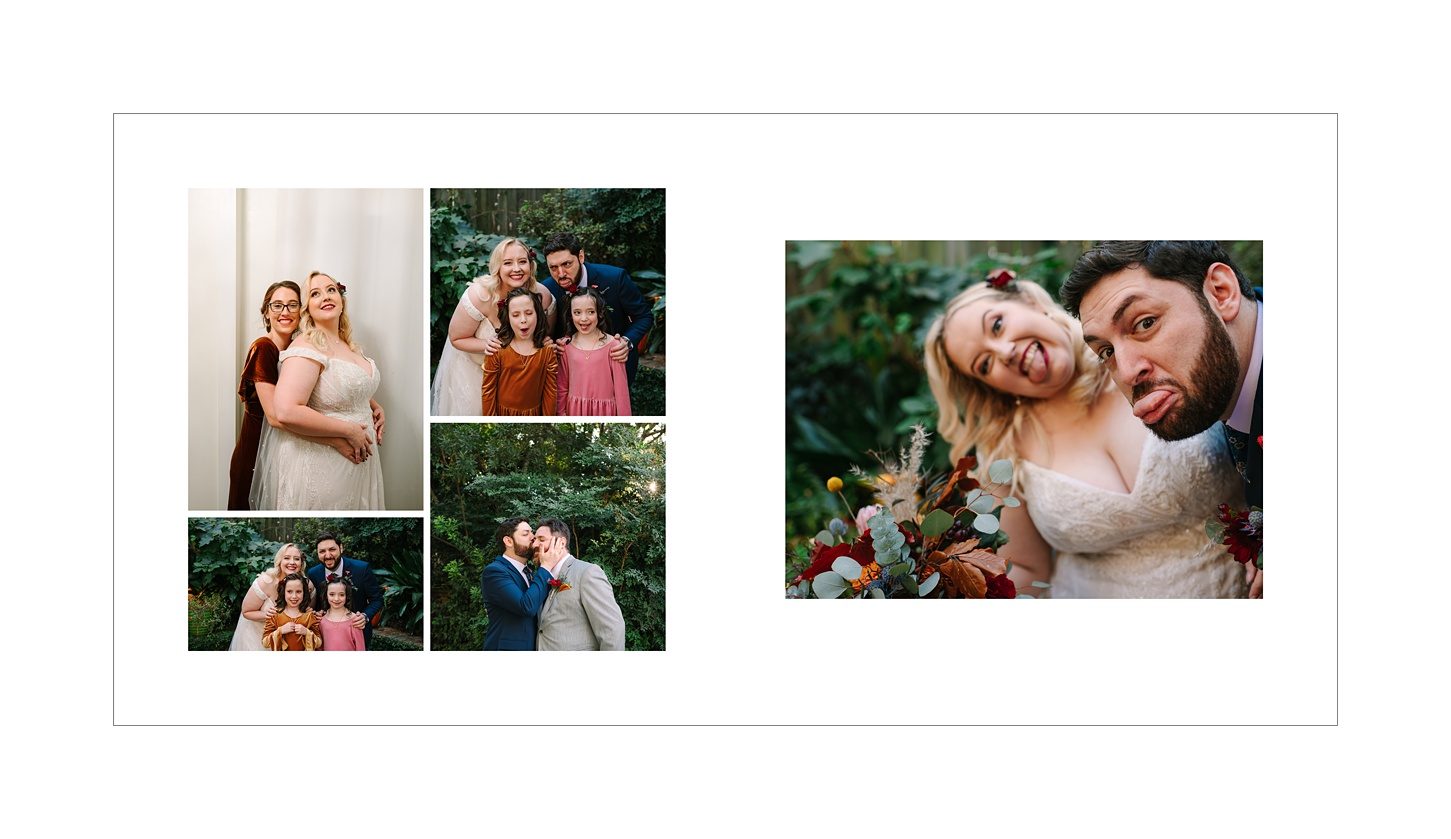
In the last two years, I’ve started to design more photo albums for my wedding and family photographer clients. It’s been a task I’ve been THRILLED to add on as a VA. I love creating these heirlooms and it’s fun to see all of the beautiful images from their sessions, too! Over the last few years, I’ve refined my album design workflow with my clients. This helps us ensure that we have an easy-to-follow process for initial designs and editing rounds. Whether you’re designing your own albums or working with a designer, I hope that this workflow helps you establish a routine that works for you!

Album designed for Raven Shutley Studios
#1: Get favorite images from clients.
For most of my clients, this is the first step to designing an album. This is either done through their gallery software for me to download on my end later or they send me a file via WeTransfer or Dropbox to use. While I do occasionally select the images myself, I find that having your clients pick images to use speeds up the entire process. They know what they want – I promise! It also helps make sure I don’t miss any Grandmas or Uncle Joe in the selection process for family formals, especially.
#2: Gather album specifics from client to start design.
Once we have the images, I need to know what kind of album we’re designing. For many of my clients, they’re ordering from either KISS Books or Miller’s. I need to know the album size and number of pages, too. For my clients, this information is added to their Trello board because it’s almost always the same sizes! Pixellu SmartAlbums makes it easy to set up their albums according to printing standards, which I love.

Album designed for Raven Shutley Studios

Album designed for Raven Shutley Studios
#3: Create the first design.
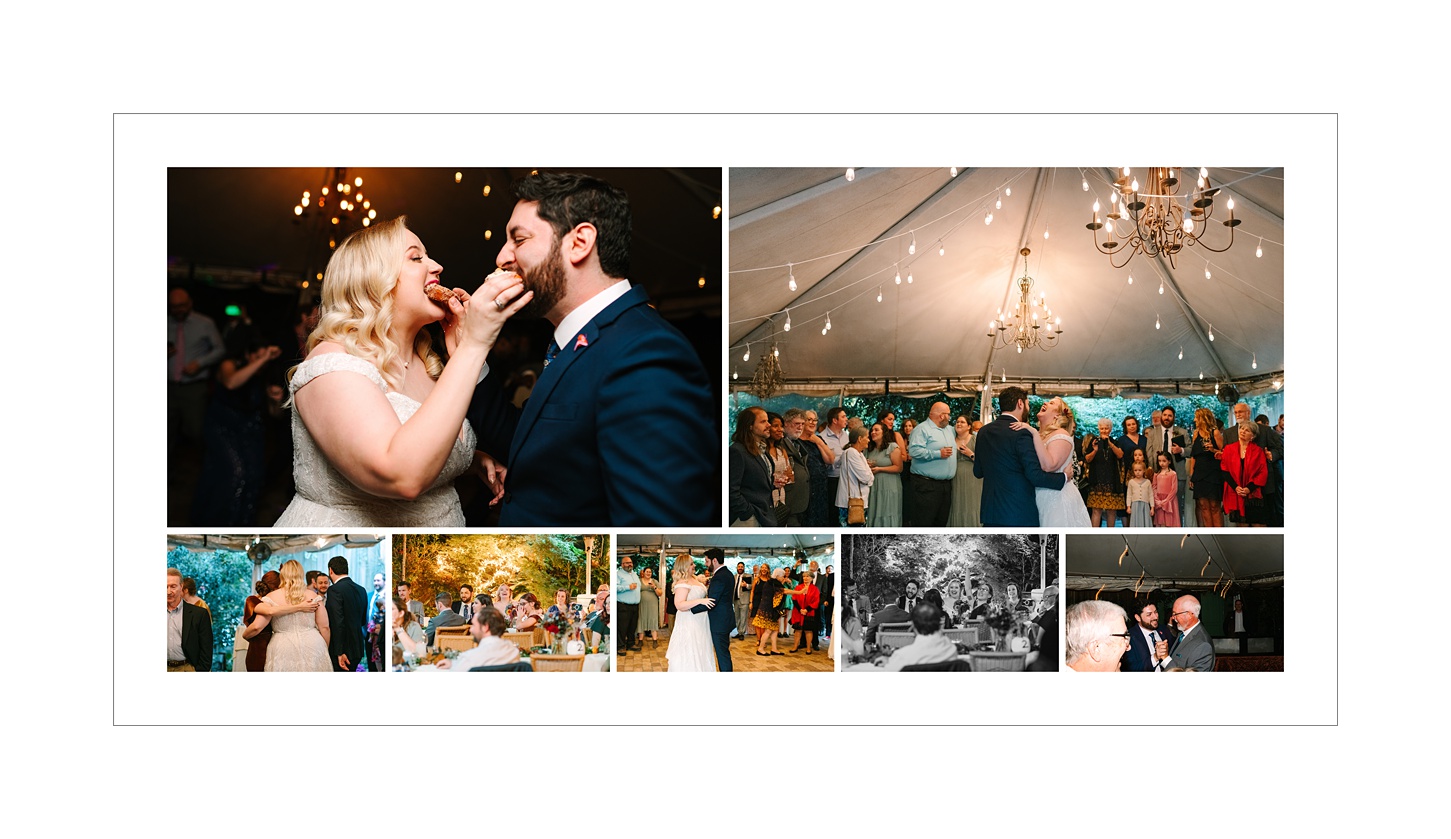
After I have the images and album specifications, it’s time to start designing. This process can take anywhere from 25-45 minutes depending on the number of images and layout of the album. My albums are chronological (after an opening spread of a portrait or two) for wedding albums. Often, my spreads contain anywhere from 3-10 images depending on the focus of the spread. Of course, this might change based on a photographer’s preferences or design standards… but that’s typically how it starts.
#4: Upload to Album Exposure for feedback.
As soon as the spreads are done, I save them and export them as JPG files. These often get uploaded to Album Exposure – or a gallery preview software if the client prefers. Here, their clients get their first chance to provide feedback. Once feedback is received, I take it and make the edits. The new version is then sent to the client. This process is repeated until the clients are satisfied, which is generally 2 rounds of edits (or less)!
#5: Export the final spreads.
Once the client has approved the album, I export the final version. For many clients, it’s simply JPG files in the highest resolution I can go. For some, they want PSDs and JPGs, so those are sent via WeTransfer for final edits on their end and ordering. If a client prefers, I can upload the album spreads to their printer of choice and then prepare the order. Many of them like to do final checks and hit “order” on their own, which works for me!

Album Designed for Raven Shutley Studios
Software like Pixellu SmartAlbums and Album Exposure have absolutely changed how I create albums for clients. They make the process super easy and streamlined. It’s honestly one of the most fun tasks I do as a VA and I secretly get SO excited when album orders come in! At this point, I’ve designed over 50 albums and I love knowing that in those houses, these albums will live for generations telling their story!!

Comments Off on My Photo Album Design Workflow